
| 일 | 월 | 화 | 수 | 목 | 금 | 토 |
|---|---|---|---|---|---|---|
| 1 | ||||||
| 2 | 3 | 4 | 5 | 6 | 7 | 8 |
| 9 | 10 | 11 | 12 | 13 | 14 | 15 |
| 16 | 17 | 18 | 19 | 20 | 21 | 22 |
| 23 | 24 | 25 | 26 | 27 | 28 | 29 |
| 30 |
- git 대용량 파일
- MFC
- OpenCPN
- __vsnprintf
- c2678
- OpenCPN설치
- 사전설치
- c++ Broadcast
- winsock.h Broadcast
- 정적 라이브러리에서 MFC 사용
- SQLite3
- 설치 테스트
- wxWidget
- sts4
- Console
- 멀티바이트 문자 집합 사용
- Plugins
- c++ set struct
- Mqtt
- __snprintf
- LINK2001
- 확인할 수 없는 외부 기호
- _sprintf
- Flutter
- 의존주입
- ExtendWith
- OpenXLSX 한글
- esp-wroom-32d
- git 최초 설정
- .gitattributes
- Today
- Total
세상을 이롭게
01. STS4 설치하기 본문
import org.springframework.boot.SpringApplication;
import org.springframework.boot.autoconfigure.SpringBootApplication;
import org.springframework.boot.autoconfigure.jdbc.DataSourceAutoConfiguration;

@SpringBootApplication(exclude={DataSourceAutoConfiguration.class})
STS 를 이용하여 SpringBoot 를 시작해보려 한다.
사용하고 있는 컴퓨터 환경은 아래와 같다.
Operating System: Windows 11 Pro for Workstations 64-bit (10.0, Build 22621)
Processor: 12th Gen Intel(R) Core(TM) i5-12600 (12 CPUs), ~3.3GHz
Memory: 32768MB RAM
바로 설치부터 들어간다.
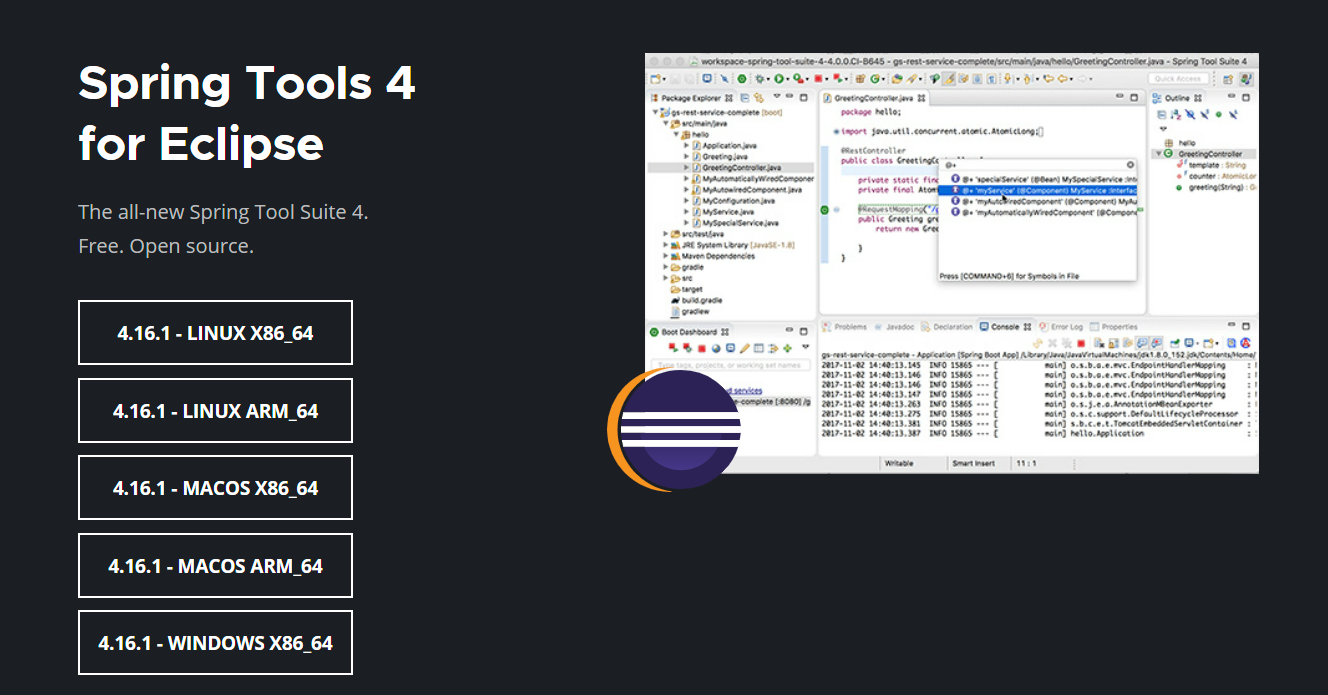
https://spring.io/tools
Spring Tools 4 is the next generation of Spring tooling
Largely rebuilt from scratch, Spring Tools 4 provides world-class support for developing Spring-based enterprise applications, whether you prefer Eclipse, Visual Studio Code, or Theia IDE.
spring.io
다운로드를 하면 jar 파일이 생길 것이다.
설치하고 싶은 폴더에 압축을 풀고 그 안에 있는 contents 폴더도 압축을 풀어준다.


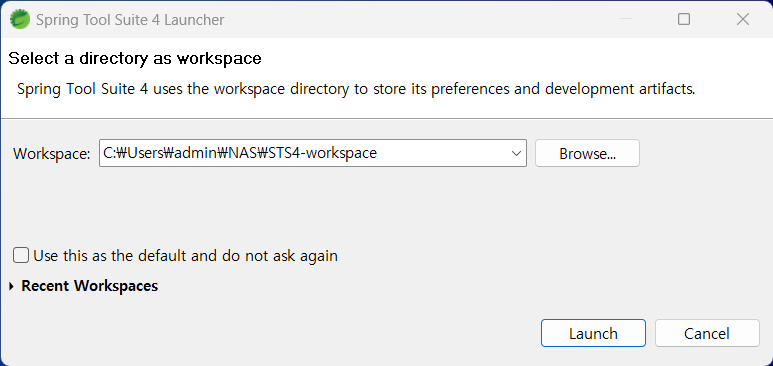

적당히 설정해준다.
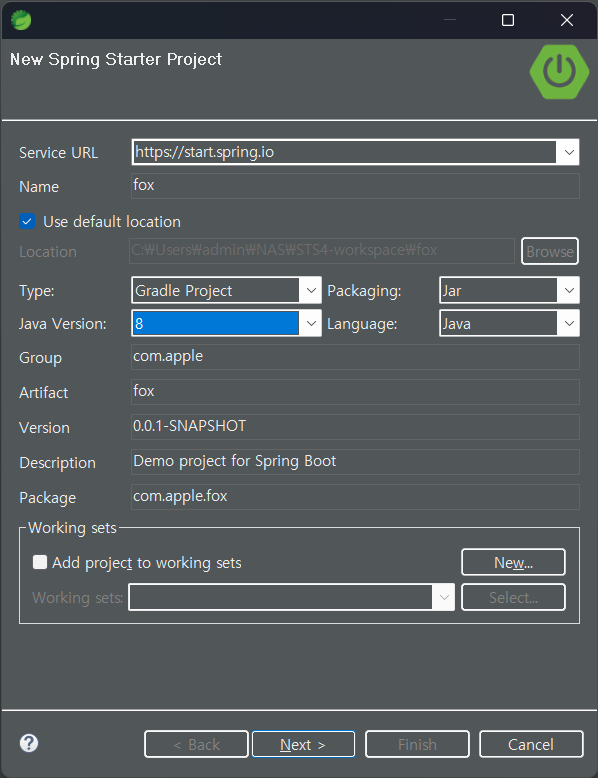
jdk 를 뭘 사용할지, gradle을 쓸지 maven 을 쓸지, 또 프로젝트 이름은 뭘로 할지 본인의 몫이다.
필자는 jdk 8, gradle, com.apple.fox로 지었다. 아무의미 없다.

의존성은 나중에도 설치 가능하다.
DevTools, Lombok, Configuration Processor, JPA, MySQL, Mybatis, Thymeleaf, Web 등을 설치해주었다.


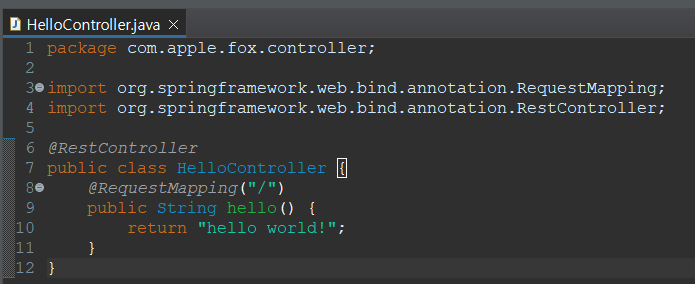
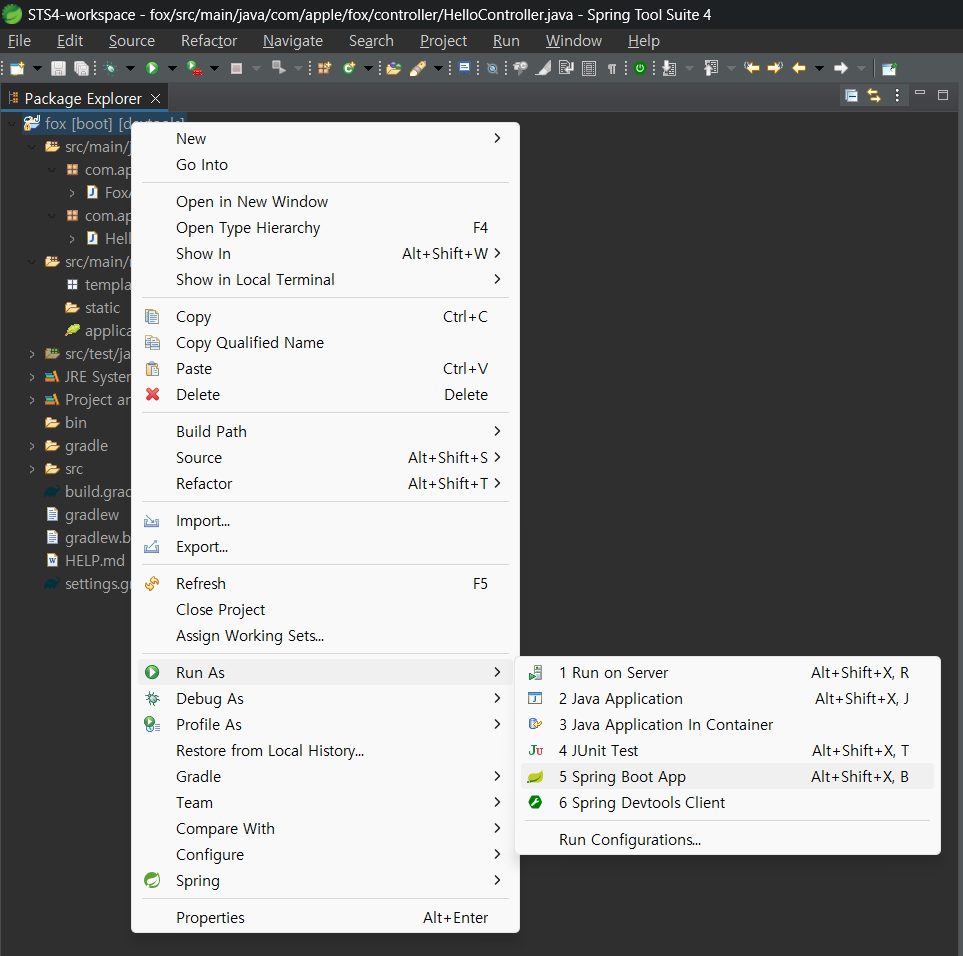
package com.apple.fox.controller;

import org.springframework.web.bind.annotation.RequestMapping;
import org.springframework.web.bind.annotation.RestController;

@RestController
public class HelloController {
	@RequestMapping("/")
	public String hello() {
		return "hello world!";
	}
}
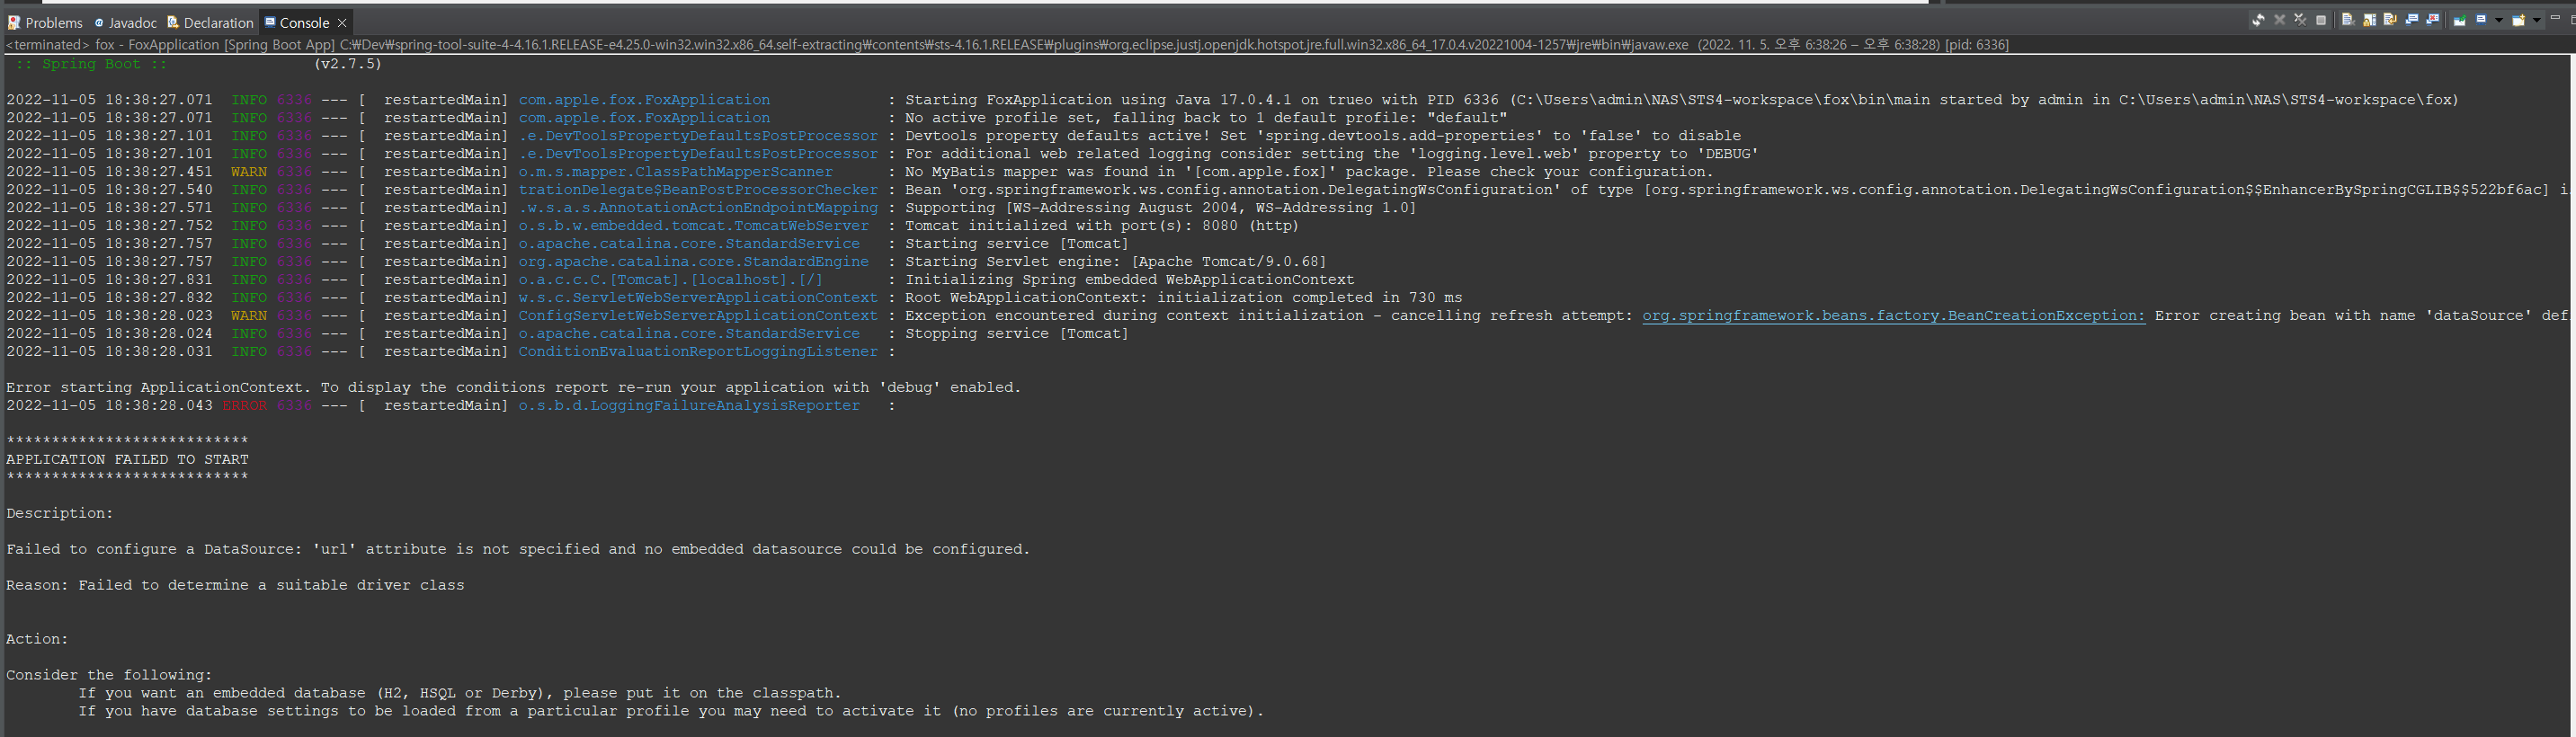
필자를 따라하였다면, DB연결이 안되어있는 상태이기 때문에 문제가 된다.
이때 DB연결 없이 해결하는 방법은 application 에 @SpringBootApplication 라고 쓰인 뒤에 (exclude={DataSourceAutoConfiguration.class}) 을 붙여주는것이다.
import org.springframework.boot.SpringApplication;
import org.springframework.boot.autoconfigure.SpringBootApplication;
import org.springframework.boot.autoconfigure.jdbc.DataSourceAutoConfiguration;

@SpringBootApplication(exclude={DataSourceAutoConfiguration.class})
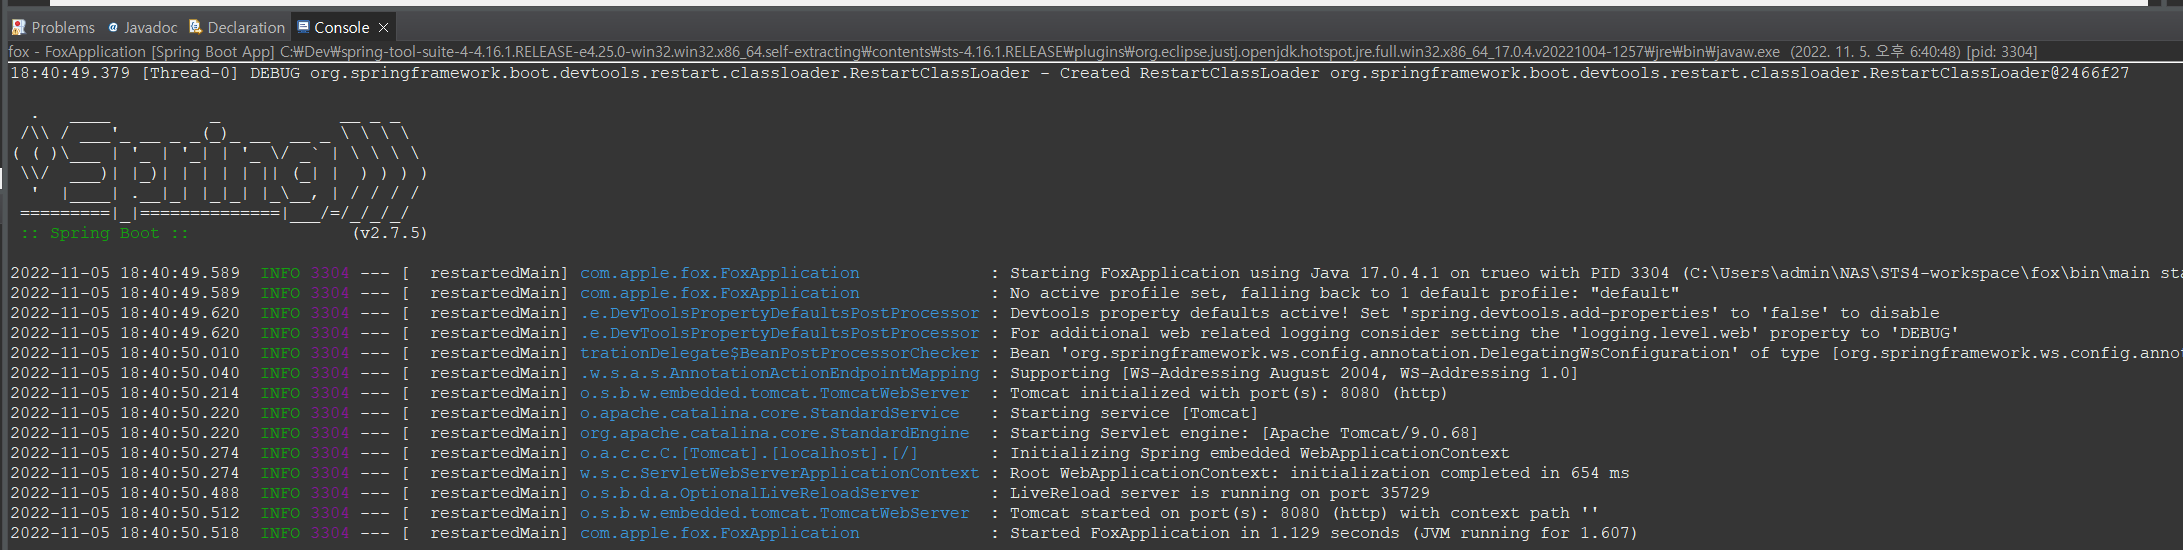
http://localhost:8080/ 로 접속했을때 Hello World! 가 나온다면 잘한것이다.
고생하셨다.
'Spring' 카테고리의 다른 글
| [개념정리] DI(의존주입)와 IOC(제어의 역전) (0) | 2023.08.26 |
|---|---|
| 02. DB 연동하기 (0) | 2022.11.05 |
| SpringBoot_(1)_개발환경 (0) | 2020.02.27 |
| SpringBoot_(2)_Securing a Web Application (0) | 2020.02.27 |


